OBS Studio Tutorial: First Screen Recording on Windows
A beginner-friendly OBS setup walkthrough covering sources, audio, recording settings, and test captures.
By Trebuchet Editorial Desk··Editorial guide
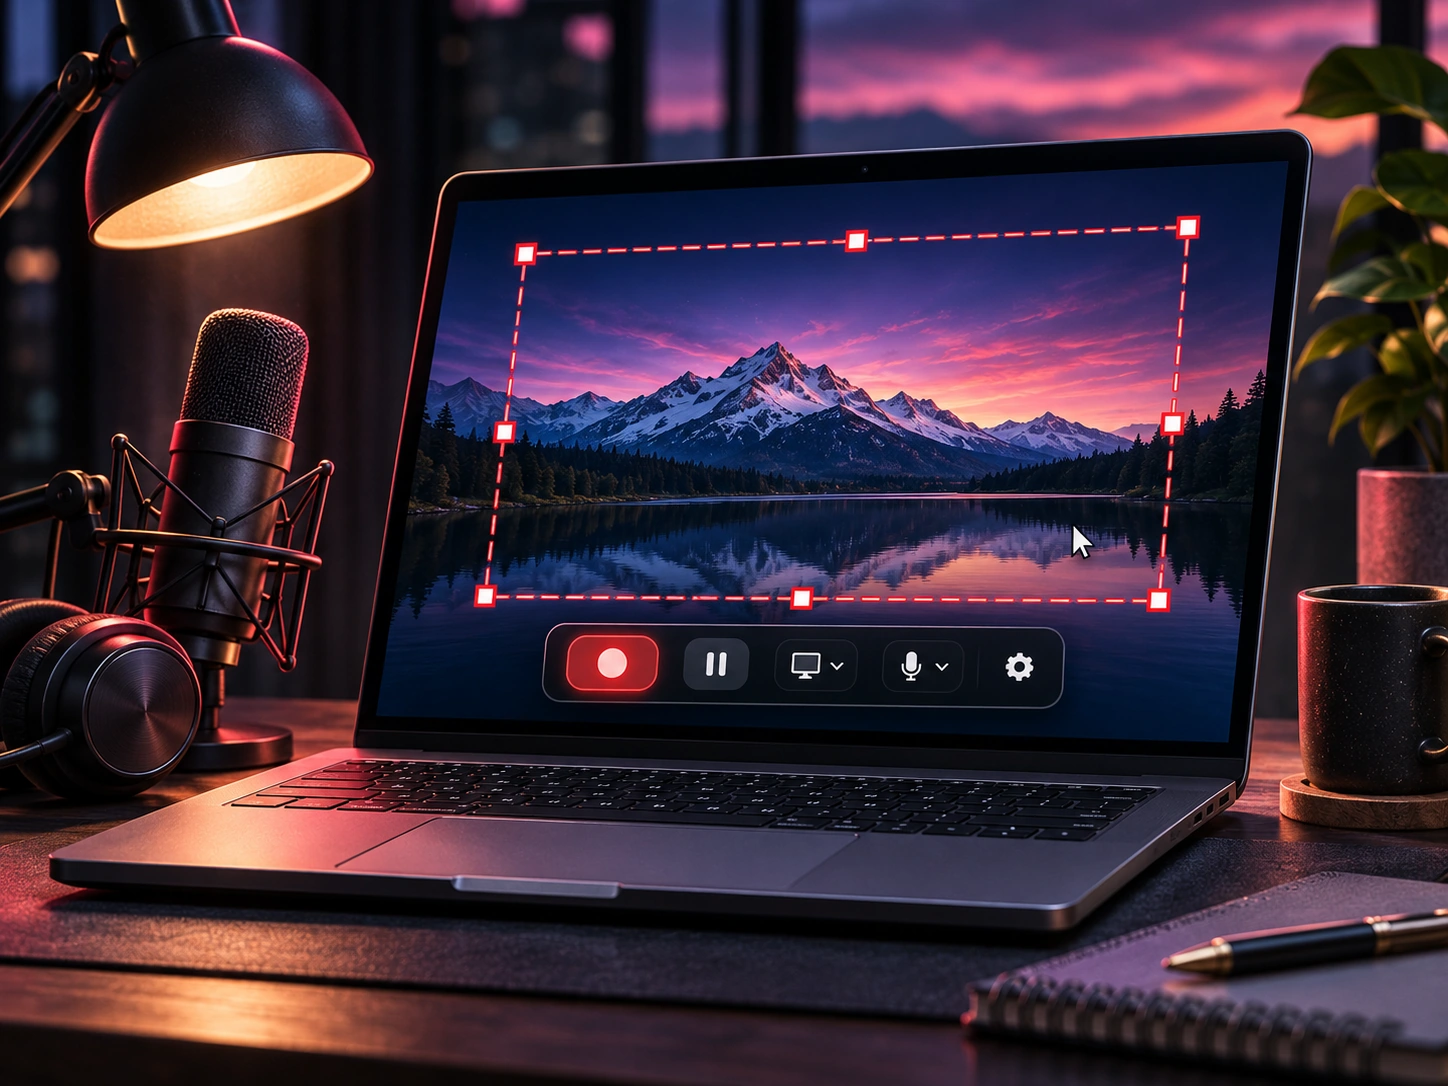
Original editorial artwork for Trebuchet. This is an illustration, not a screenshot of the software.
Editorial overview: This article is based on public product documentation and published capabilities, not hands-on benchmark testing. Features and licensing may change; verify details with each publisher.
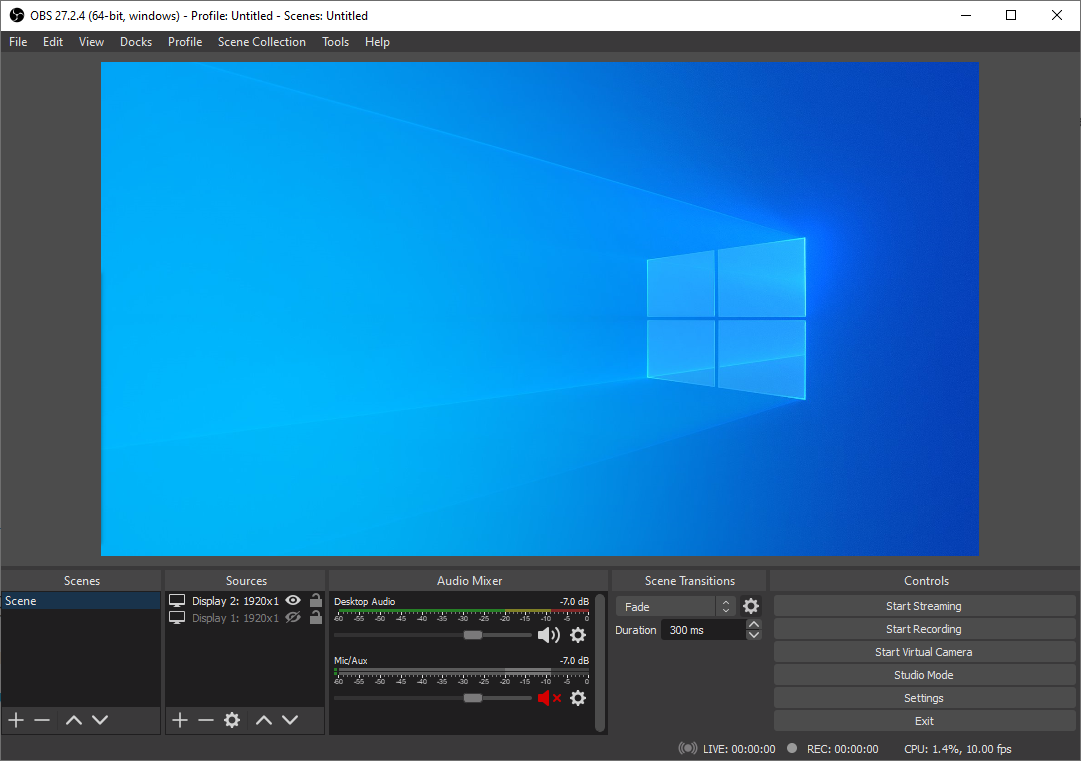
Interface reference · View source and context. Screenshot may show an older version; interface details can change.
Before your first recording
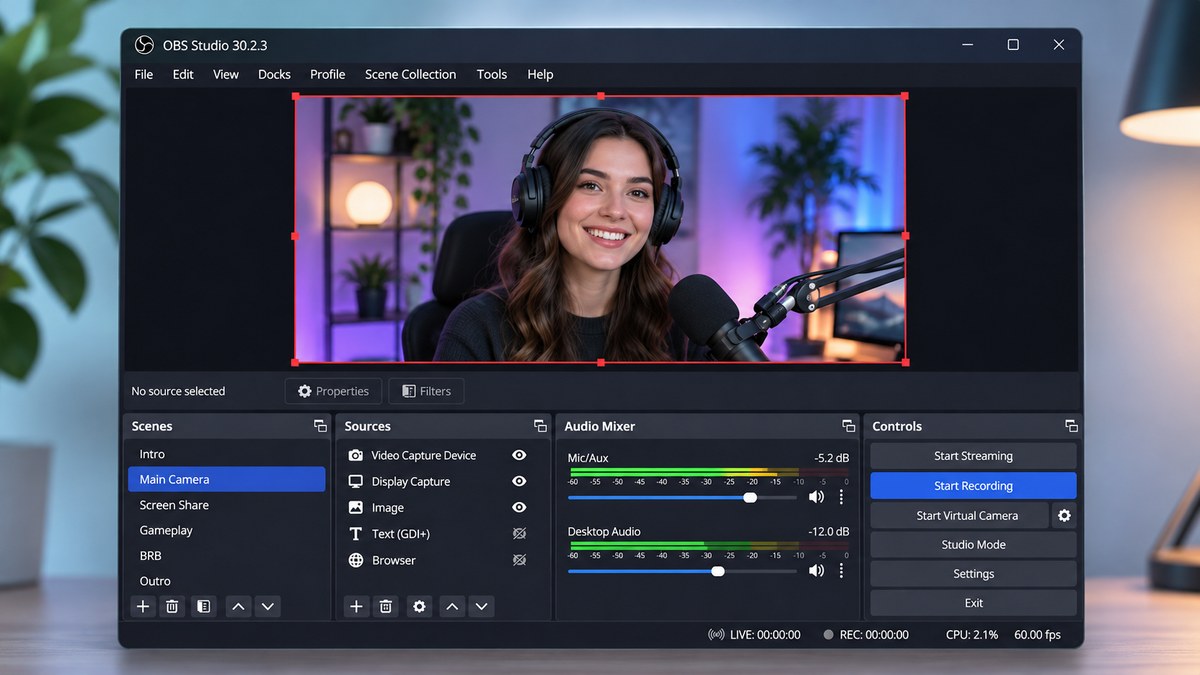
Editorial interface illustration (AI-generated); appearance may differ from current software versions.
OBS Studio is a free, open-source tool for screen recording and live streaming. Decide what you need to capture: one window, your whole display, a game, or a camera. Recording a small test first helps you catch audio and layout problems.
Step 1: Create a scene
Editorial interface illustration (AI-generated); appearance may differ from current software versions.
Open OBS and add a new scene. Scenes are collections of sources you can switch between. Name your first scene something practical like Screen Demo so you can find it later.
Step 2: Add a source
Add Display Capture for your screen or Window Capture for a particular application. Use the preview to resize and position the image. Be aware that display capture can reveal notifications, passwords, or other open windows.
Step 3: Check your audio
Use the audio mixer to confirm the microphone or desktop audio meter responds as expected. Avoid capturing private conversations. Record 15 seconds and listen back through headphones.
Step 4: Choose recording settings
Review Settings → Output and Video. Select a recording path you can find, and choose a resolution and frame rate your machine can handle. OBS documentation recommends reliable recording formats and remuxing to MP4 when needed; review the current official guidance for your version.
Step 5: Record, stop, inspect
Click Start Recording, perform your short demo, then Stop Recording. Play the resulting file locally and check video, audio, framing, and whether anything private is visible before publishing it.
Common beginner fixes
Black-screen captures can be caused by display selection, permissions, or graphics settings. Choppy recordings may call for lower resolution or frame rate, lighter workloads, and a storage drive with enough space.
Software safety: Use official publisher websites, check supported operating systems and release notes, and keep a backup of important projects and data.
A closer look: how this fits into everyday work
Features make more sense when you connect them to a familiar task. The following examples focus on ordinary desktop workflows, common points of confusion, and the decisions that are easy to overlook when reading a list of specifications.
Step one: decide exactly what viewers should see
Before touching a setting, write down one sentence describing the recording. Perhaps you want to show how to build a simple spreadsheet, capture a gameplay session, or explain a web dashboard. That decision determines whether you need the entire display, a single application window, or a camera feed.
Open OBS Studio and create a new scene with a descriptive name. Add the appropriate source. If the preview shows a black screen or the wrong monitor, check the capture method and system permissions rather than adjusting unrelated video settings.
Step two: take care of the audio
Audio is often the difference between a useful tutorial and a recording nobody finishes. Add or select the microphone you really intend to use. Speak in your normal voice and observe the meter. Headphones can reduce feedback if desktop sound is also being captured.
Record ten seconds while clicking inside the application you plan to demonstrate. Play the file back and listen for keyboard noise, room echo, and unexpected system notifications. Fix those issues while the project is still small.
Reader tip: menus, screenshots and exact settings may change between software versions. Check the publisher’s documentation before following a step that affects important files.
Step three: a realistic first recording
Start recording, pause for two seconds, and then explain what viewers are looking at. Move the cursor slowly enough that someone unfamiliar with your computer can follow. If a step takes longer than expected, describe what you are waiting for instead of clicking randomly through menus.
When you finish, stop recording and locate the saved file using OBS's recording path. Watch the beginning, middle and end. Verify that the microphone and screen are synchronized and that important text remains legible when the video is played at an ordinary size.
Step four: improve only what needs improving
Once the test is reliable, you can experiment with a camera overlay, hotkeys, different output formats, and more sophisticated audio filters. Change one thing at a time and keep track of what worked. A simple preset that reliably captures your workflow is more valuable than a complex configuration you cannot reconstruct.
If you need to remove pauses, add chapter titles or insert explanatory graphics, use an editor afterward. OBS is primarily the capture and live-production tool; treating it as a complete timeline editor creates unnecessary frustration.
Before you commit important work
Make a small test project with files that are safe to experiment on. Confirm that the result opens, that you understand where it was saved, and that a backup exists for anything irreplaceable. Even popular software can behave differently across Windows versions, hardware configurations and file formats.
Also consider who will receive the result. A technically impressive export is not helpful if a collaborator cannot open it, the text is unreadable or the accounting report does not match the source records. Choose settings and formats with the end user in mind rather than treating the default option as universally correct.
Finally, use the official publisher website for current downloads, release notes and system requirements. This journal links to publishers and reviews software workflows; it does not distribute installers or claim that the applications were benchmarked in our lab.
Trebuchet is an independent informational publication. We are not affiliated with the publishers mentioned and do not host software installers. This article is not a laboratory test or a paid endorsement.