OBS Studio for Beginners: Recording Without a Paywall
Scenes, sources, audio meters, and recording formats explained for your first screen capture.
By Trebuchet Editorial Desk··6 min read
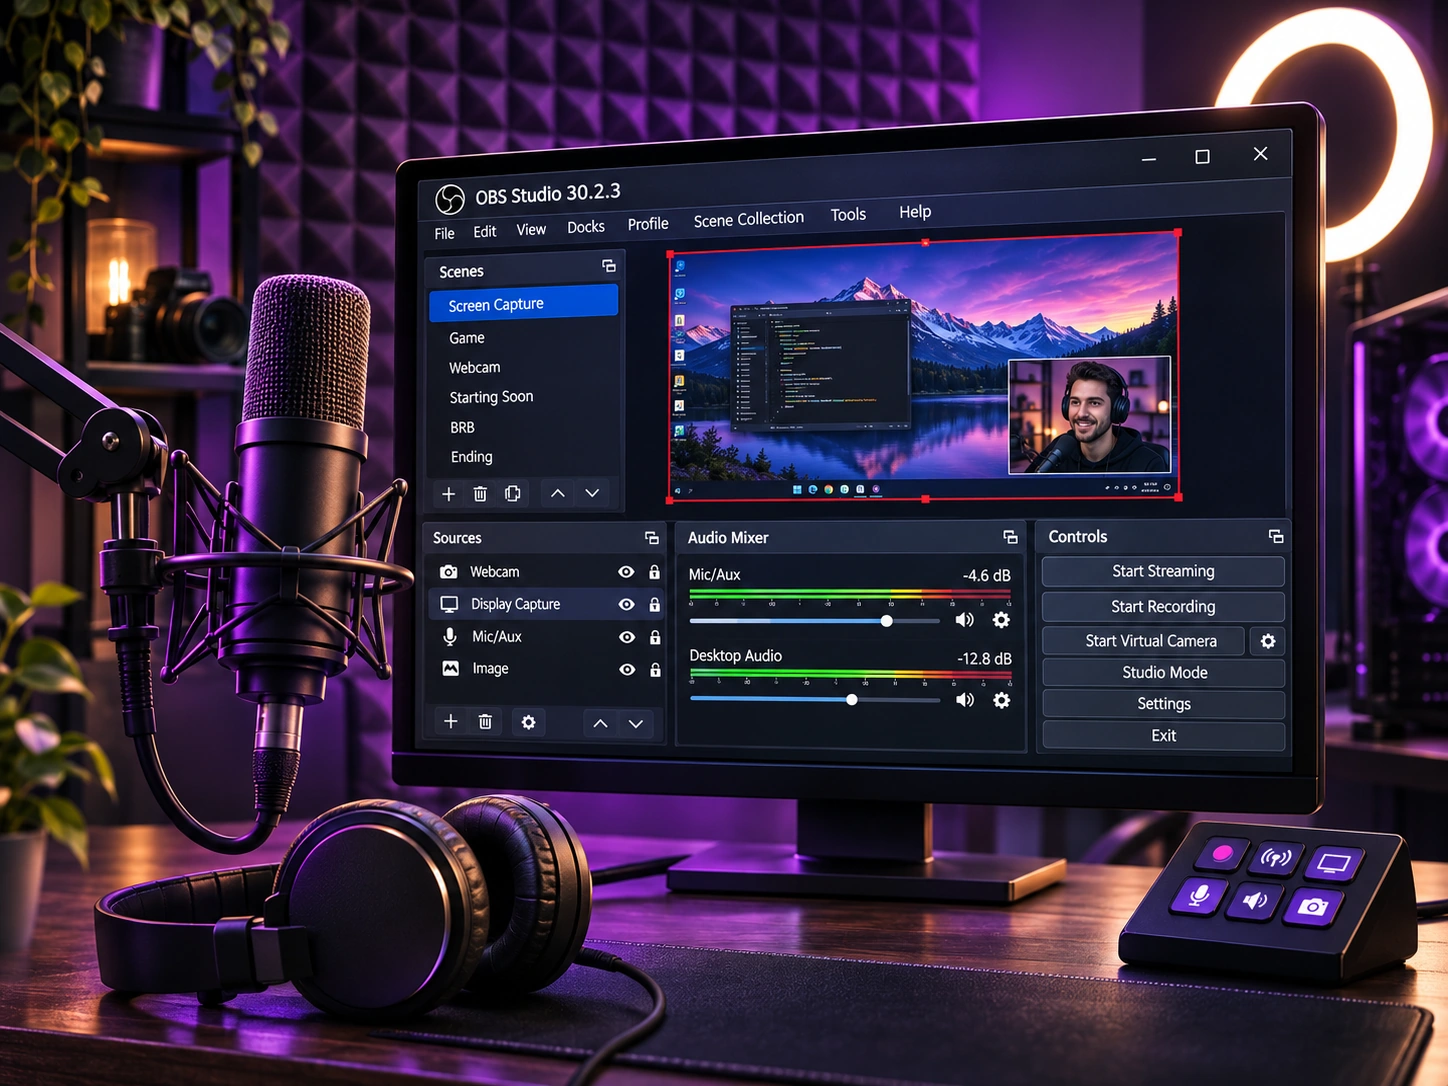
Original editorial artwork for Trebuchet. This is an illustration, not a screenshot of the software.
OBS Studio belongs to a category of desktop tools that can handle useful everyday jobs without an ongoing subscription. The central question is not just whether it is free, but whether its workflow fits what you want to accomplish.
This editorial overview uses published product documentation and publicly available feature information. It is not a hands-on benchmark or security audit; readers should check current system requirements and product updates with the publisher.
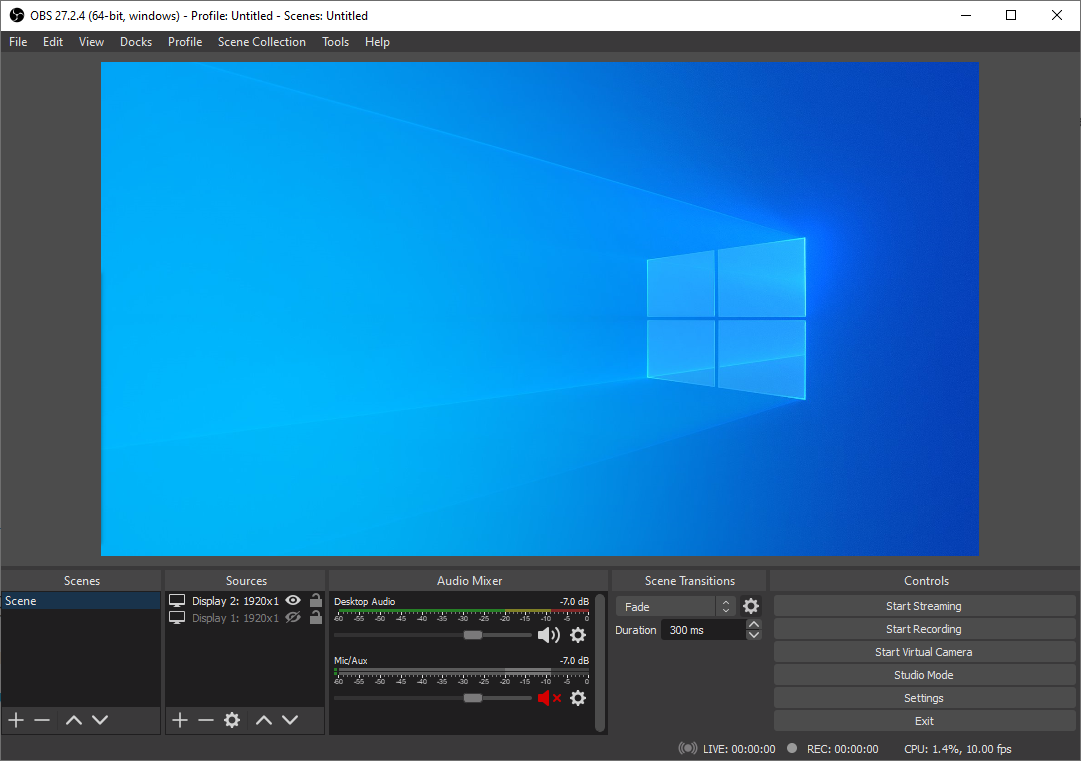
Interface reference · View source and context. Screenshot may show an older version; interface details can change.
Who is OBS Studio for?
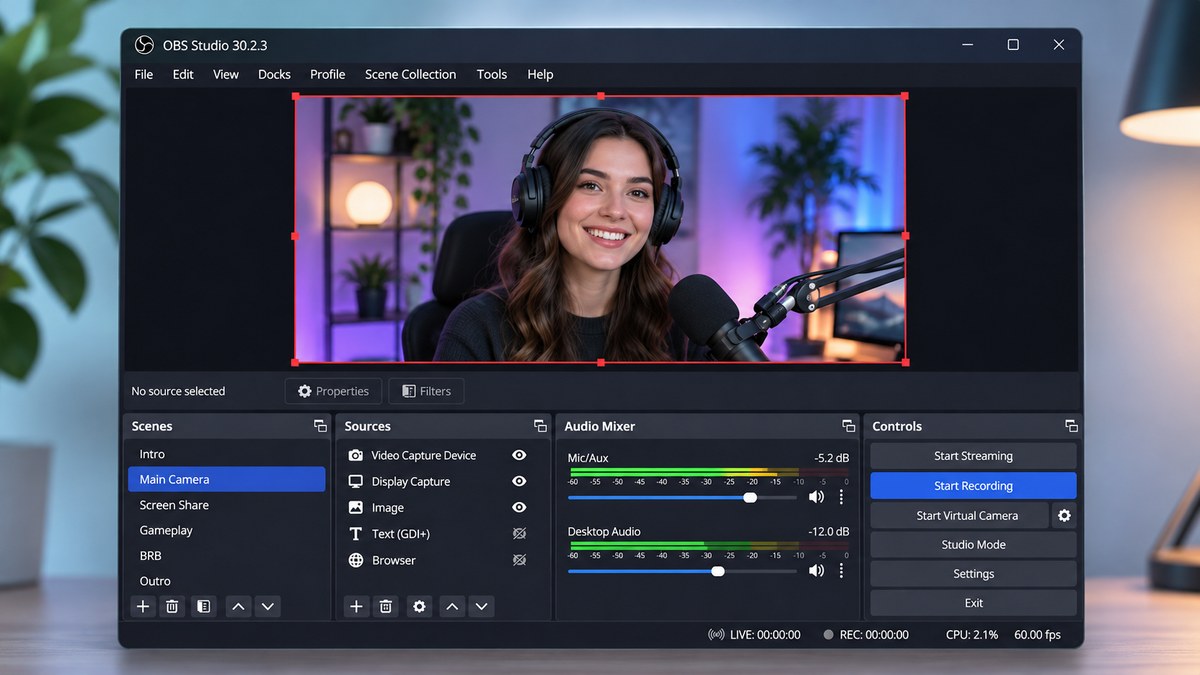
Editorial interface illustration (AI-generated); appearance may differ from current software versions.
Teachers, streamers, and anyone recording demonstrations or gameplay. It is worth listing the tasks you repeat each week before picking an application: an impressive feature list is less valuable than a tool that solves your recurring problem reliably.
Where it stands out
Editorial interface illustration (AI-generated); appearance may differ from current software versions.
Separate scenes and capture sources
Audio mixer with per-source controls
Local recording and streaming workflows
These capabilities make the software worth considering, but the right fit depends on your files, device, experience, and tolerance for setup. Where possible, try a small sample project before moving important work into a new application.
Tradeoffs to know
It is a recorder, not a full nonlinear video editor
Incorrect audio routing is a common setup mistake
No free desktop tool is automatically the best choice for every user. Compatibility, documentation, backup options, and continued project maintenance matter as much as its headline features.
A sensible first-use checklist
Create a scene, add Display Capture or Window Capture, verify microphone levels in the mixer, record a 20-second test, then review the file before recording a full session.
Installation safety: use the publisher’s official website, verify the publisher and installer details, keep Windows protection enabled, and avoid unexpected download mirrors or bundled offers.
Our editorial verdict
OBS is an excellent recording foundation when you are willing to spend a few minutes on initial setup.
Features make more sense when you connect them to a familiar task. The following examples focus on ordinary desktop workflows, common points of confusion, and the decisions that are easy to overlook when reading a list of specifications.
The simplest useful scene
OBS Studio can look intimidating because it was designed to combine different media sources. For a first recording, ignore the advanced production possibilities. Create one scene, add a Display Capture or Window Capture source, and check that the preview shows what you intend to share. If you record a tutorial, avoid exposing personal notifications or private browser tabs.
The audio mixer deserves attention before the Record button. Speak at a normal volume and watch the microphone meter. If the meter never moves, the audience will hear silence. If it hits the top constantly, voices may distort. A ten-second test recording is a much faster diagnostic than recording a complete presentation and discovering the sound is unusable.
Scenes versus sources
A scene is a layout; a source is an element inside that layout. For example, a teaching scene might combine your desktop, a webcam in the corner and a microphone. A second scene might show only a title slide. Understanding that separation is the moment OBS starts to feel manageable rather than mysterious.
You do not need a complicated scene collection for every project. People who record software demonstrations often benefit from keeping one clean desktop scene and one optional camera scene. Consistency makes it easier to repeat the setup each time you sit down to record.
Reader tip: menus, screenshots and exact settings may change between software versions. Check the publisher’s documentation before following a step that affects important files.
Recording settings in ordinary language
Resolution determines the size of the captured picture; frame rate affects motion smoothness; bitrate and encoder settings influence file size and quality. Rather than copying a random high-end streaming preset, start with the Auto-Configuration Wizard and a short sample that reflects your real work.
A local recording and a live stream have different priorities. During a recording, you can stop, check the file and try again. During a stream, network stability and live audio matter more, and you have no second take. Keep these workflows separate while you are learning.
After recording: the part people forget
Make sure the recording actually opens in a media player before deleting any temporary files. Save important recordings to a folder you can find again, and use a clear name that identifies the lesson or event. If you plan to edit the recording, an application such as Shotcut or OpenShot can handle cuts and titles afterward.
For screen tutorials, a clean cursor path and slow, deliberate clicks are usually more helpful than elaborate production graphics. Viewers need to follow what happened, not be impressed by the capture software.
Before you commit important work
Make a small test project with files that are safe to experiment on. Confirm that the result opens, that you understand where it was saved, and that a backup exists for anything irreplaceable. Even popular software can behave differently across Windows versions, hardware configurations and file formats.
Also consider who will receive the result. A technically impressive export is not helpful if a collaborator cannot open it, the text is unreadable or the accounting report does not match the source records. Choose settings and formats with the end user in mind rather than treating the default option as universally correct.
Finally, use the official publisher website for current downloads, release notes and system requirements. This journal links to publishers and reviews software workflows; it does not distribute installers or claim that the applications were benchmarked in our lab.
Editorial disclosure: this is an independent informational article. Trebuchet is not affiliated with OBS Studio. We do not host installers or claim endorsement from the publisher. No hands-on testing is asserted.